A Complete Guide To DIY Jewelry Making
DIY jewelry making is a very interesting but not easy thing. It is not like other handicrafts. Its production is a complex and delicate process involving multiple processes and steps. If you are interested in this If you want to make a unique piece of jewelry for yourself or your family, follow our guide. In this guide, we’ll cover the entire process of general DIY jewelry making, including design and material selection, casting and molding, cutting and engraving, soldering, grinding and polishing, and finally setting.
Step 1: Design and material selection
The first step in any DIY jewelry making is creative design . Choose a style of jewelry based on your ideas or preferences. You need to draw a sketch of the jewelry, or it would be even better if you can use 3D modeling software. This will save you a lot of time. Factors you need to consider in design include:
- Function and form of jewelry
- Size and proportions
- Details

Try to include as many of these details as possible in your design. Then you need to decide what materials to use. What metal should be used for the main body, gold, white gold, platinum or silver? What decorative materials should be chosen? Diamonds, rubies, sapphires, or jade, pearls?
The aesthetics of jewelry design is often closely related to the selected materials, so some professional jewelry designers sometimes need to adjust and modify the design details according to the characteristics of the material.
Step 2: Mold making and casting
To transform your design drawings into actual physical forms, you need a mold. Our second step is to make the mold we need. Common mold casting methods for jewelry making include lost wax casting, sand casting and die casting. Among them, sand casting and die casting are more suitable for efficient large-scale production. For our personal DIY jewelry making, lost wax casting is the most suitable.
Lost wax jewelry mold making
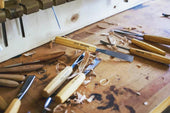
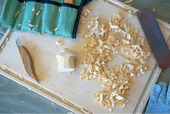
Make a wax model . Use wax (usually heat-softenable wax) to hand carve or 3D print a prototype of the jewelry.
Coating with refractory material . Once the wax model is complete, it is then coated with a refractory coating. This coating is usually made of a heat-resistant liquid mixture that contains quartz sand or other fine particles that can maintain strength at high temperatures. The coating is available commercially. It usually takes 2-3 coats to achieve the required strength of the mold. Note that each coat should be done after the previous coat is completely dry.
After the coating is completely dried and hardened, we can start to put the wax model into the heating furnace to heat it so that the wax inside the wax model completely melts and flows out. At this time, only a refractory shell remains, so this process is called the lost wax method . At this point, we have the refractory mold we need.

Casting jewelry body
Put the metal material you prepared into the crucible, heat it and melt it, then pour it into the mold. During the pouring process, you need to carefully control the temperature and speed to ensure that the metal can flow smoothly into every detail of the mold, so as to ensure the formation of a perfect casting. Wait until the metal cools down and you will get a main blank by demolding. If you are not sure about this process, there are also small casting machines available on the market . These machines can automatically melt and inject metal, and they can accurately control the injection process to ensure the quality of your casting.
Step 3: Cutting, carving and adding details
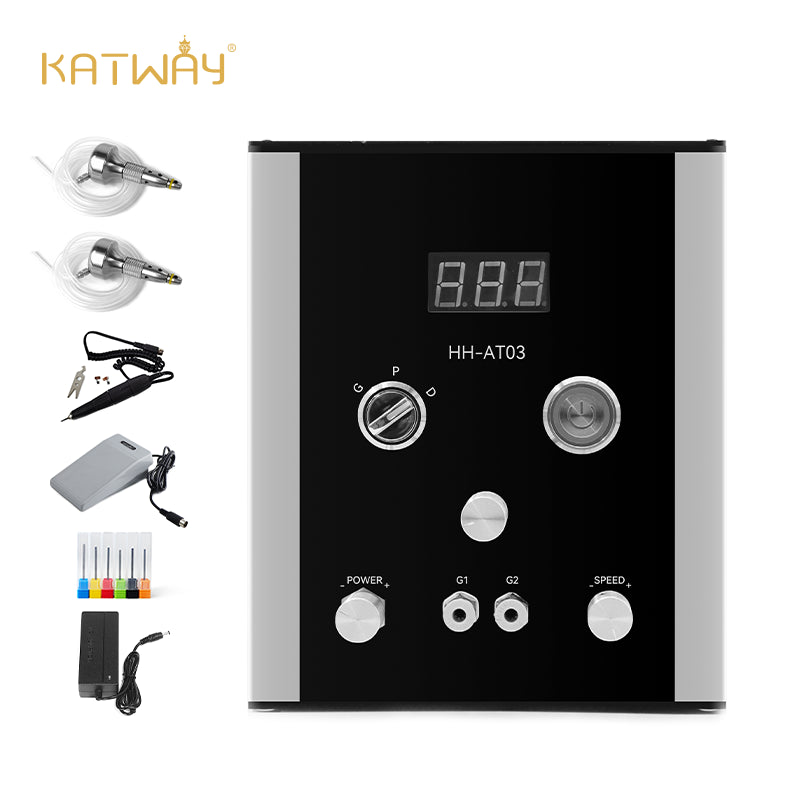
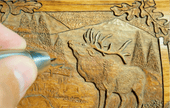
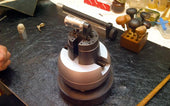
Once the metal blank is cast, you have to start working on some details, and the really fine process has just begun. Prepare to cut off the burrs and excess metal on the blank to shape the basic shape of the jewelry. Then use sandpaper or a grinding wheel for preliminary grinding, and then use the engraving process to add personalized elements to the jewelry, such as fine lines, patterns or text. Using traditional hand tools to engrave metal can be difficult for beginners, who often find it difficult to master the strength and stability required for engraving. Therefore, a pneumatic engraving machine is very helpful for beginners. It can easily cope with the processing of various metal jewelry, and there is no need for an additional air compressor. The whole machine integrates the compressor and other control components.
Step 4: Soldering
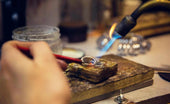
Another skill that must be mastered for DIY jewelry making is welding. In many cases, we need to connect different metal parts together to form a complete jewelry design. Jewelry welding usually requires very delicate operations, otherwise it is easy to damage small details, surface gloss or overall structure. In jewelry making, we usually use resistance welding, that is, using a spot welder. It performs particularly well when welding thin metals, does not require filler materials, is very precise, has a small heat-affected area, and will not damage jewelry. The only thing to pay attention to is to test the appropriate current and voltage on other scrap metals in advance to avoid excessive current burning jewelry.
Step 5: Grinding and Polishing
The significance of this process is to deal with the roughness of the jewelry surface, making the jewelry look smoother and more shining. Therefore, we need to use some grinding and polishing tools in the production process to beautify your work.
- Preliminary grinding: Use 200 to 400 grit sandpaper or a grinding wheel to remove burrs and flaws from the casting or welding process.
- Refinement: Use sandpaper of about 400-800 grit to further refine the surface, gradually eliminating roughness and obvious scratches.
- Finishing details: Use sandpaper with a grit of 1000 or above for more delicate polishing, and use other tools such as small files, fine sand strips or Dremel tools to polish hard-to-reach corners until the jewelry is smooth and flat.
- Polishing: Use polishing wheels, polishing pens and other special polishing tools to process your work, which can make your work as smooth as a mirror. Of course, this requires a little patience.
Step 6: Setting Gemstones
Gem setting is the last and most important step in jewelry making. I call it the finishing touch. Depending on the type of jewelry, the setting method we use is also different. Here are 3 different common setting methods:
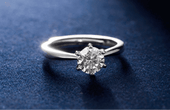
Prong setting: This is the most common jewelry setting method. The basic principle is to fix the gemstone to the metal base with metal "claws", leaving the gemstone mostly exposed to enhance its light reflection and sparkle. Prong settings are used in most diamond rings.
Prong setting diamond ring:

Bezel setting: Different from the traditional claw setting, bezel setting completely wraps the edge of the gemstone with a circle of metal to form a metal frame, which can effectively protect the gemstone from impact and wear. It is often used for pendant setting.
Bezel-set emerald:

Channel setting: Channel setting is usually used for a row of small gemstones. The metal forms a "channel" to embed the gemstones, but the gemstones themselves are not completely surrounded by metal. The sides of the gemstones are clamped by the metal frame, but the top and bottom surfaces of the gemstones are exposed, forming a linear arrangement, commonly used in designs such as rings, necklaces and bracelets.
Channel set diamond ring:

There are many other ways to do inlay, so I won't list them all here. If you are interested, you can buy relevant materials or take courses to learn on your own.
Once the jewelry is inlaid, your DIY jewelry making is complete.
Conclusion
The process of DIY jewelry making is not easy. Maybe the work you make is not what you expected, but it doesn't matter. If you can complete the whole process, it is already very remarkable, at least beyond most people. To make unparalleled jewelry, you need a lot of experience and skills, and these require a lot of practice. Don't forget to enjoy the fun of DIY and the fun of jewelry making during the practice.
View more related articles
Beginner's Guide to Hand-Engraving Metal: Tools, Tips, and Tricks
Four Practical Ways to Engrave Metal
What Casting Equipment Are Available for Jewelry Processing?


