
How to Make Beautiful Metal Prints
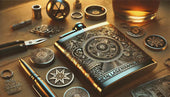
Metal printmaking is a special kind of painting art that uses not a paintbrush but various engraving tools to carve out patterns and lines on a metal plate. The recessed portion of the metal plate is able to carry ink, which is then rendered onto paper through a printing process, resulting in a beautiful printmaking piece. In this blog, we will introduce you to the process of creating metal prints.
What are Metal Prints?
Before we begin, we need to understand what is metal printmaking? The objective fact is that metal prints belong to the intaglio printing technique. Usually a metal copper plate is used as the substrate. A block is then carved into the surface of the metal plate by engraving or etching, inked, and then transferred to paper using a printing device.
The main types of engraved metal plates are: dry engraving method, etching method and drypoint method. The dry engraving method, in which lines are carved directly with an engraving tool, is the most common type of engraving and is the method that is the focus of this article.
The Process of Engraving Metal Prints
Polishing The Metal Plate
The first step in the process of engraving metal prints is to clean the metal plate by sanding and polishing it. The purpose is to remove scratches and oxidized layers on the surface. A clean and smooth metal plate ensures that the final rendering of the pattern will have clearer lines and will not be disturbed by friction marks.
- Preparation tools: metal polishing paste, steel wool, sandpaper.
- Steps: Sand from coarse to fine until the metal surface appears to have a mirror effect.
Determining The Printmaking Pattern
When attempting metal engraving for the first time, it is recommended that you sketch a one-to-one design on paper according to the actual size of the metal plate. Then, using transparent tracing paper or carbon paper, transfer the design onto the metal plate.
Skilled engravers can also use the finest tipped engraving knives or fine pens to engrave the outline of the sketch directly onto the metal plate.
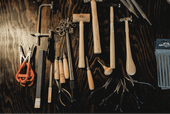
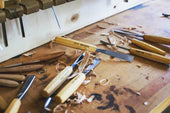
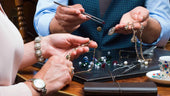
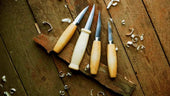
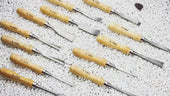
Selecting Engraving Tools
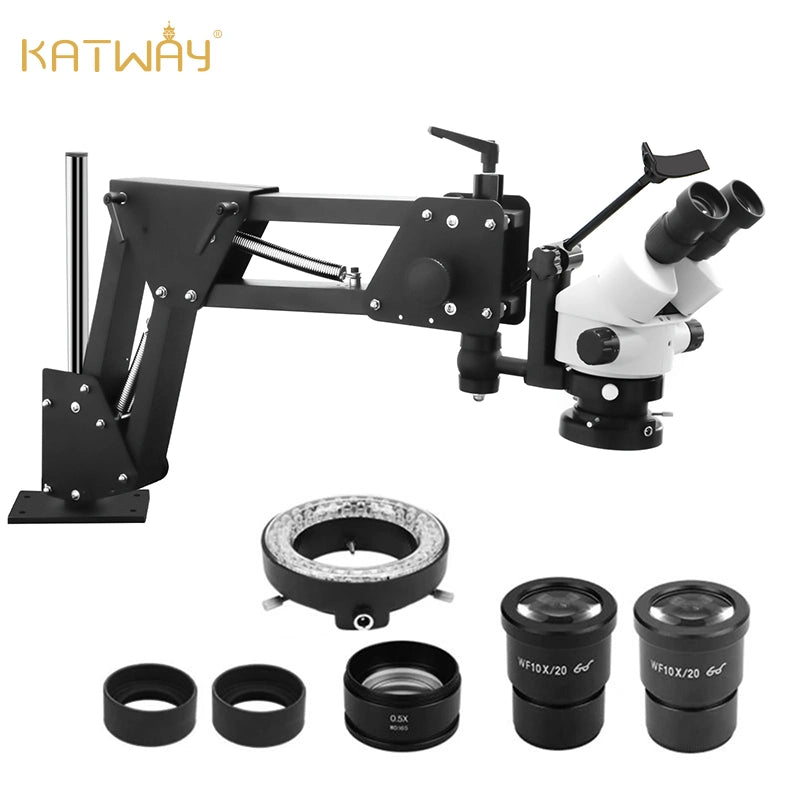
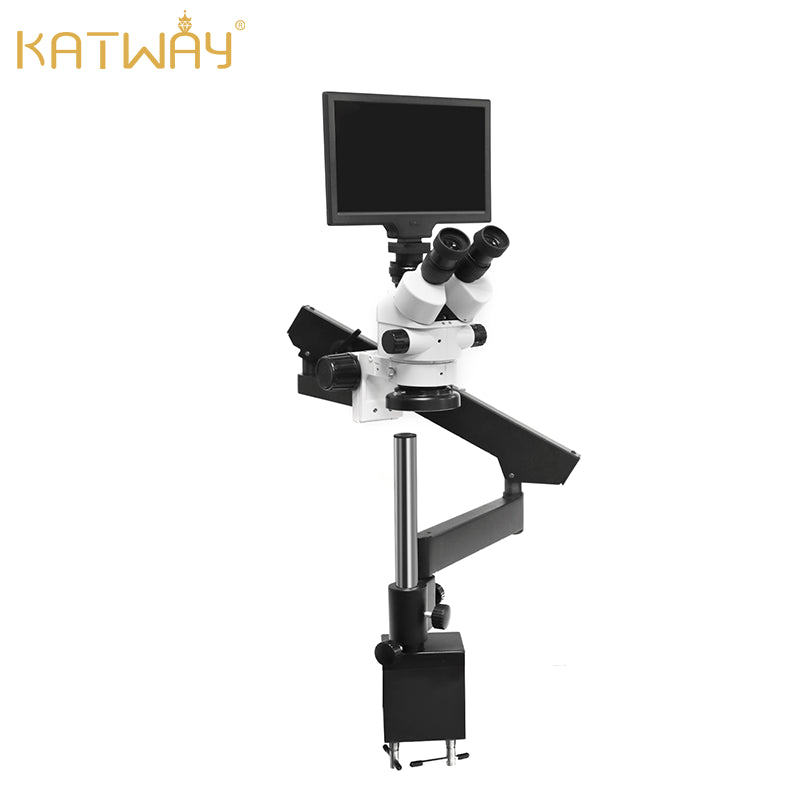
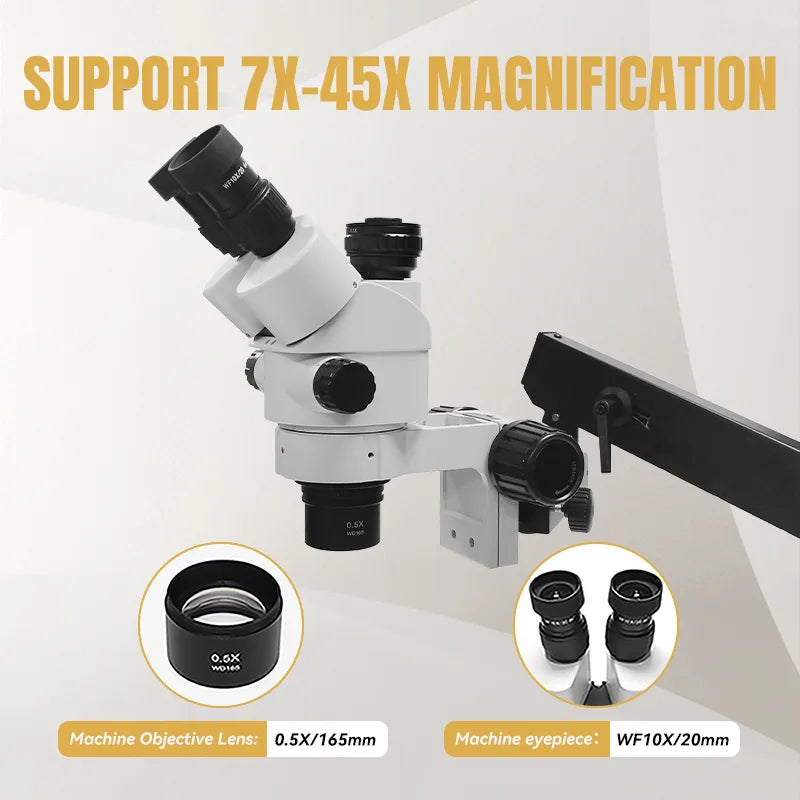
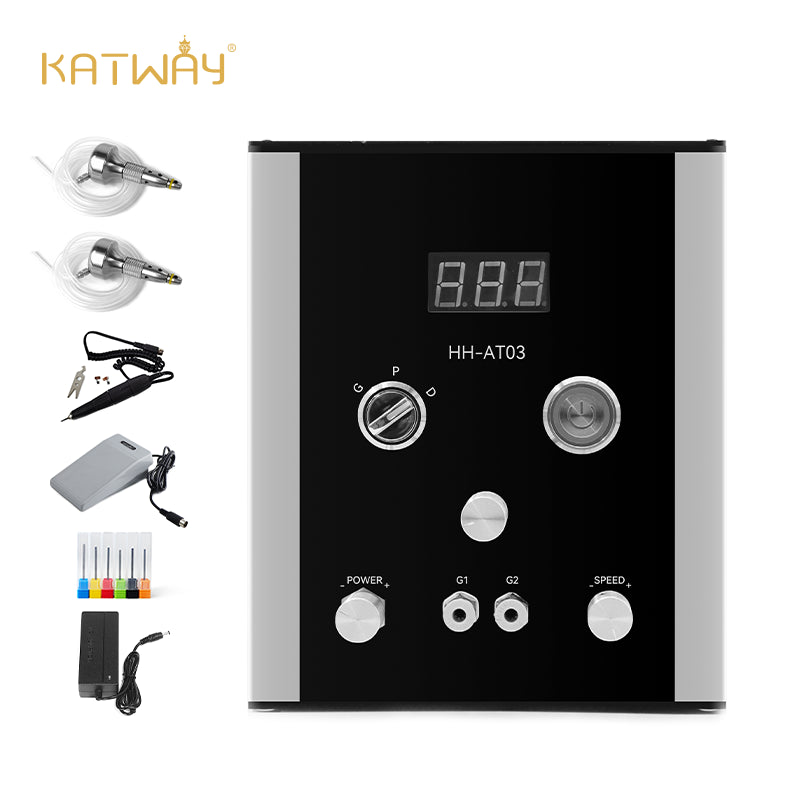
The main tools used for engraving metal prints are an engraving knife set, a pneumatic engraving machine, and a stereoscopic microscope. Each engraving tool has a different purpose.
- Engraving Knife Set: Pointed knives are used for detail and shading, flat knives and chisels are good for large lines or contours, and V-shaped knives are used to carve deep, sharp grooves.
- Pneumatic Engraver: Metal prints are tough and can be easily deepened with a pneumatic engraver.
- Stereo microscope: Magnify the part to be engraved in detail to ensure accuracy.
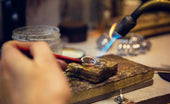
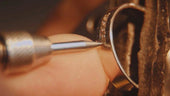
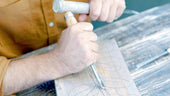
Engraving Steps
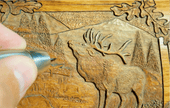
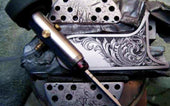
Engraving process: Hold the pointed engraving knife in your hand, wrap the palm of your hand around the end part of the handle, and hold the front part of the handle with your thumb and ring finger. Adjust the angle of contact between the tip of the knife and the metal plate to 45 degrees. Then apply pressure and the carving knife cuts thinly into the metal plate. Move the engraving knife along the design line to create a concave line or groove in the layout.

Engraving Tools: Note the variation in engraving tools, using a flat blade for thick lines, a pointed blade for thin lines, and a stereoscope and pneumatic engraver for fine details.
Engraving strength: The pressure applied by the printmaker to the engraving knife can also be used to create finer or coarser grooves in the layout. For example, carving smooth lines requires controlled force and reduced strength. Deeper marks require more force.
Note: The metal plate should not be placed on a flat table, but on a soft sandbag or pillow to help maneuver and move the plate.

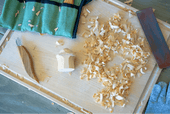
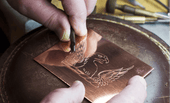
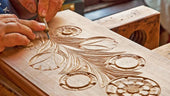
Carving Techniques
Unlike common flat engraving, engraving metal prints uses a unique method of shading lines to enhance the color contrast of the metal prints and provide a better visual effect.
The main process involves using an engraving tool to make marks on the plate in the form of lines, dots and scratches. The closer the markings are arranged, the darker the areas will appear, while areas with fewer markings will appear brighter.
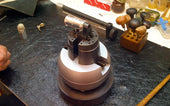
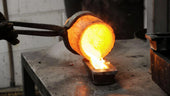
Metallic Printing Process
Inking And Cleaning Process
Once the engraving is complete, the inking process begins. Apply the ink evenly to the metal plate and make multiple rounds of rubbing with a cloth or piece of cardboard to fill all the grooves evenly with oil. Finally, use a burlap cloth to remove excess ink from the surface, but leave the ink in the grooves. It is optional to leave a light layer of ink on the flat surface to create an overall color tone and enhance visual depth.
Printing Procedure
Printing is done with the help of a gravure printing press, which works by applying high pressure to the paper and metal plate by means of a roller, which embosses the ink in the grooves onto the paper.
Before printing, the paper is wetted in advance to remove excess water and to better absorb the ink. Next, the inked metal plate is placed on the printing press platform and overlaid with the treated paper. After that, the cylinder is rotated and the printing is done by pressure. The paper passes through the cylinder, leaving a clear pattern with an indented border.
Finishing The Prints
Remove the printed paper and lay it flat to dry, avoiding contact with the inked surface. When completely dry, trim the edges of the paper for framing, and a beautiful print is complete.
Metal printmaking is an exquisite craft that combines the art of engraving and printing techniques, and although the process of creation is complex, it is full of fun and fulfillment. Read this blog, master the relevant engraving skills, prepare the necessary engraving tools, you can try engraving metal prints, experience a new creation!
You May Also Like
-
Realizing Unique Designs: Etching and Jewelry Engraving
When people start experimenting with engraving, they want...
-
The New Favorite of Handmade Wood Carving Industry - Pneumatic Engraving Machine
With the advancement of modern science and technology, tr...
-
Metal Engraving Techniques That Beautify Jewelry
Just as one is always willing to be drawn to something mo...
-
How to Make a Gemstone Ring?
Discover how gemstone rings are made and experience the u...
-
How to practice carving flowers technique in wood carving
Whether it is the complicated and delicate flower cluster...
-
What Tools Do You Need to Be a Silversmith?
This is a beginner's guide to silversmithing. Many people...
-
How Do Beginners Make a Simple Silver Ring?
Making a silver ring for your lover is a very romantic th...
-

What Kind of Microscope Do Jewelers Use?
Microscopes are called the third eye of jewelers. Accordi...
-
From Hobbyist to Pro Artisan: Your Tool Upgrade Roadmap
You've carved 50 wooden spoons, sold your first custom si...
-
How To Choose a Engraving Vise?
Engraving vises are a type of clamping tool that engraver...
-
10 Essential Woodcarving Techniques for Beginners
Woodcarving is an interesting and creative art. It is not...
-
10 Tips To Teach You How To Solder Jewelry
Are you worried about the soldering technique for making ...
-
A Complete Guide to Prong Settings
Setting is a common technique in jewelry making, and claw...
-
A Complete Guide To DIY Jewelry Making
DIY jewelry making is a very interesting but not easy thi...
-
Beginner's Guide to Hand-Engraving Metal: Tools, Tips, and Tricks
Hand engraving metal is like stepping into an art form th...
-

What Are The Advantages Of Pneumatic Engraving Compared To Push Engraving?
In the engraving process, pneumatic engraving is an indis...
-

Four Practical Ways to Engrave Metal
Metal carving is the carving of a design or pattern into ...
-

Do You Know How to Engrave Tungsten Rings?
In recent years, tungsten material will be stronger and m...
-
How Do You Re-Engrave Old Jewelry?
Jewelry has a permanent beauty and unique value, and many...
-
Pneumatic Engraving Machine Vs Electric Engraving Machines
As the industrial revolution took place, machines changed...
-
The Joy of Carving Wood
Wood carving is not only a handcrafted art with a long hi...
-
How to Buy High Quality Metal Engraving Tools?
It is said that metal engraving is an extremely testing c...
-

A New Engraving Experience for You with the AT Series Motors!
We have exciting news to share with you! The AT Series mo...
-
How to Choose a Mill for Jewelry Making?
In the process of jewelry making, a jewelry mill is a ver...
-
How to Choose and Use Jump Rings?
If you are a jeweler then you are no stranger to the term...
-
Teach You How to Pick a Jewelry Engraving Machine
Jewelry engraving machine is an indispensable tool for th...
-

How Do You Cast Jewelry?
Jewelry casting is a common way of casting jewelry. In fa...
-
A Comprehensive Guide to Jewelry Engraving
Jewelry will be preferred by many people as a gift, but h...
-
Tips for Using Engraving Tools
If you are a beginner who is just getting into carving, a...
-

Katway to Participate in Hong Kong Jewelry Show 2024
In recent years, Katway's brand strength has been improvi...
-
The Creative Path of a Jewelry Beginner
Embarking on a jewelry making journey is not only a form ...
-

The Secrets of Handmade Jewelry Engraving
Hand engraved jewelry is still used by many jewelers as a...
-
Tips for Making Silver Jewelry
Silver as a metal is a very common metal, and nowadays th...
-
How Do Beginners Use Jump Rings?
A jump ring is an essential piece of jewelry making, you ...
-
Method of Making a Carving Knife and Template Set(Ⅱ)
The last blog on making engraving tools talked about the ...
-
Six Common Casting Process Introduction
Casting Process The casting process is generally used to ...
-
Method of Making a Carving Knife and Template Set(Ⅰ)
If you are interested in carving, then you must carving k...
-
A Must for Newbies: An Easy-to-Follow Guide to Letter Carving in Wood
Do you want to know how to carve letters in wood? If you ...
-
Unlocking the Secrets of Metal Laser Engraving
With laser equipment, marking operations, whether it is a...
-
Do You Know What Metal Engraving Is?
To talk about metal engraving, we need to first understan...
-

About the Identification of Real and Fake Pearls
Pearls are an ancient organic gemstone that existed about...
-

About Jewelry Appraisal, You Need to Use the Tool - Gemstone Microscope
In recent years, with the number of gemstone enthusiasts...
-

Uses of Different Types of Microscopes
Many people know that microscopes can be used to look at ...
-

Katway's 2024 Jewelry Fair Tour - INHORGENTA MUNICH
In 2023, our company Katway took part in the Hong Kong Je...
-

How to choose the best jewelry engraving machine?
Do you want to make your own engraved jewelry that suits ...
-

Guide to Jewelry Engraving
Jewelry engraving is a work of art that involves pattern ...
-

Sharpening tools: A Good Helper for Jewellery Engraving
In the working process of a jewellery engraver, the perfo...
-

Katway's Journey to Jewelry Show 2023
In September 2023, Katway was invited to participate in J...
-

Vacuum casting in the jewelry process
With the continuous development of science and technology...


